


The first time you load an eBike for a multi-day ride, it rarely feels heavy in the garage. It feels heavy at kilometer 40 when a strap loosens, your knees start tracking funny, and you realize your charger is still on the workbench. A touring eBike rewards preparation more than almost any other riding style because weight, speed, and motor assistance amplify both good choices and small mistakes.
This touring ebike setup checklist is built for riders who care about comfort, reliability, and long-term serviceability - not just “getting through” a trip. Use it before you spend money on new gear, and again the week before you roll out.
Start with the bike you actually have
A touring setup isn’t a vibe. It’s a set of constraints: frame geometry, rack ratings, wheel size, battery capacity, motor system, and service access. A Bosch-equipped touring bike from Cube, Gazelle, Moustache, or Riese & Muller will tour beautifully, but it will do it best when you respect the platform.
Two quick trade-offs to keep in mind. First, more battery capacity can reduce anxiety, but it adds weight and cost, and it can change how the bike handles when the rear is already loaded. Second, front cargo improves balance, but it can add steering inertia and complicate lights and cabling if you choose the wrong rack or bag system.
If you’re still choosing the bike, do one simple thing: confirm your rack and total payload ratings before you buy the panniers. Touring failures are often “systems” problems, not single parts.
Fit and contact points: comfort is your range extender

Motor assistance doesn’t cancel biomechanics. If anything, it lets you pedal longer into a bad position.
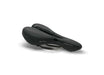
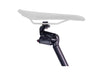
Start with saddle height and fore-aft. You want a stable hip with no rocking and knees tracking straight. Then check reach. Touring posture is usually a touch more upright than sporty riding because you’ll spend hours looking ahead, not down. If your wrists or neck complain on day rides, they will shout on tour.
Handlebar and grip positioning matter more on an eBike because you carry speed with less effort. Ergonomic grips, a slightly swept bar, and the right rise can turn a “two-hour limit” into an all-day ride. If you’re between sizes, resist the temptation to “make it work” with extreme stems or seatpost positions - those are red flags that show up under load.
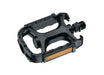
Shoes and pedals are part of fit, too. Flat wider pedals are simple and forgiving, and they pair well with casual touring shoes. Clipless can be efficient, but it adds complexity (cleat bolts loosen, shoes get wet, walking comfort matters). It depends on your route and how often you plan to stop and explore.
Touring eBike setup checklist: safety and mechanical basics
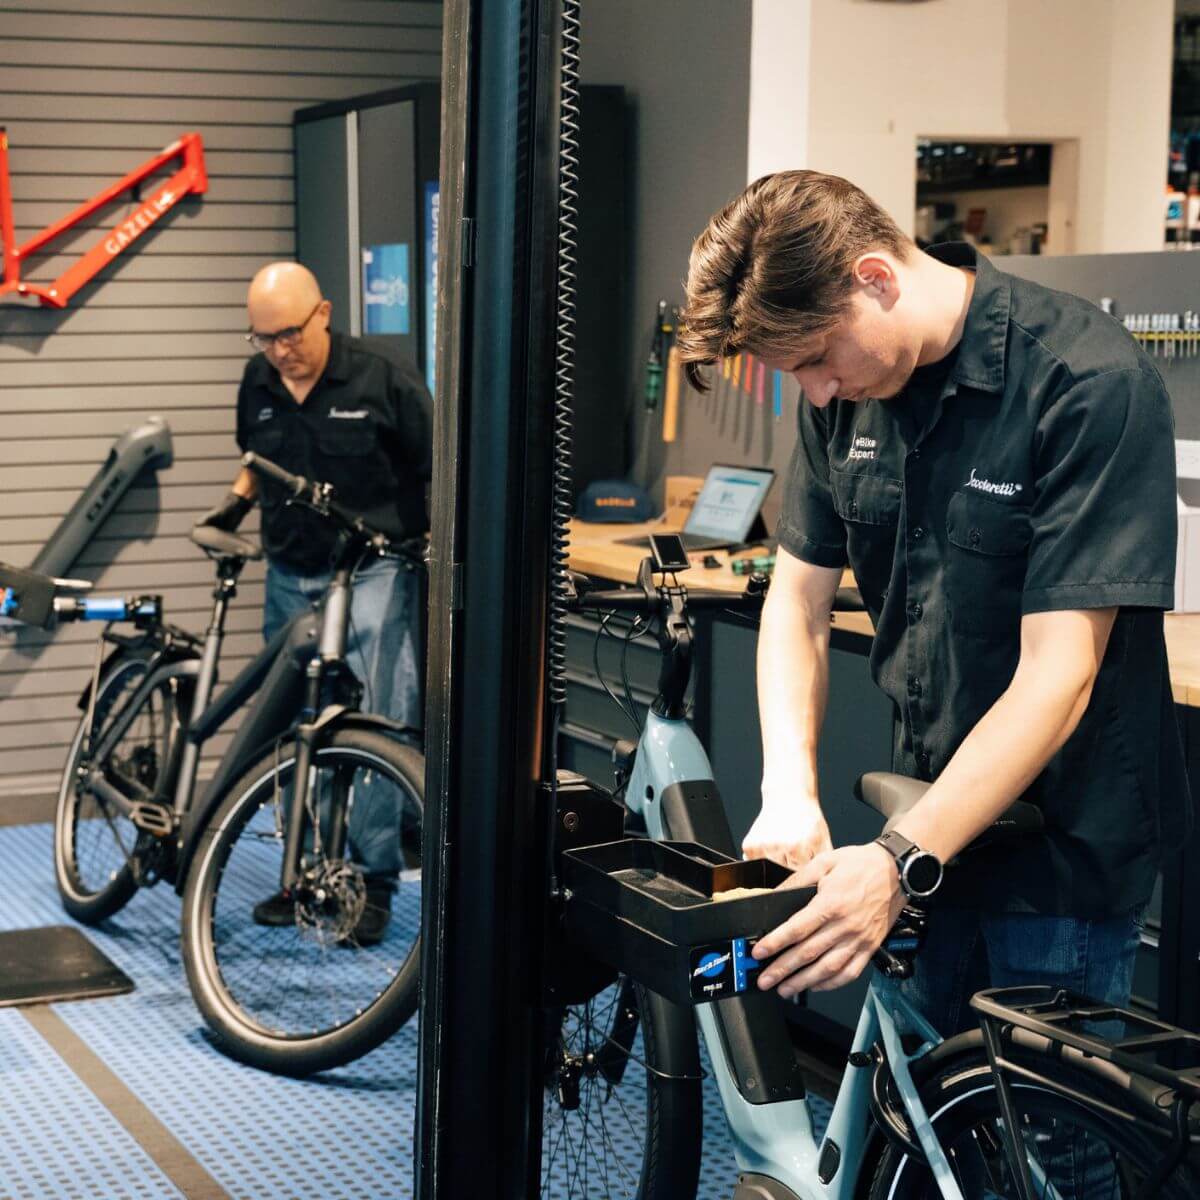
Before you add accessories, make sure the core bike is dialed in for you. This is where certified service pays for itself.
Brakes should feel powerful and predictable with one-finger control. If your levers pull too close to the bar, fix it now - pad wear and heat only make it worse. For long descents, fresh brake pads and properly bedded-in rotors aren’t optional.
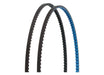
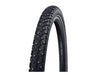
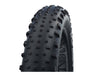
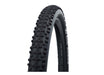
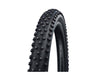
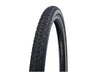
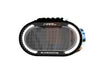
Tires deserve a hard look. Touring eBikes are often happiest on a high-quality puncture-protected tire in a width that supports your load and road surface. Wider tires at appropriate pressure can reduce fatigue, improve traction in rain, and protect rims. The “right” pressure is rarely the sidewall max - it’s a balance between comfort, pinch-flat risk, and rolling efficiency. Typically for most riders this will be about 10 PSI from the maximum rating.
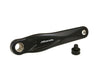
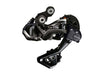
Drivetrain condition matters more under e-assist torque. A worn chain can eat a cassette quickly, and that’s an expensive surprise mid-season. If shifting hesitates on a stand, it will misbehave under load. Get it crisp before you pack the first bag.
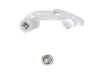
Do a bolt check with a torque wrench, especially on stem, handlebar, seatpost clamp, rack hardware, and any suspension pivots. Touring vibration loosens fasteners that felt fine on short rides.
Power and range: make your battery plan realistic
Range anxiety is usually planning anxiety.
Start by estimating your real consumption. Headwinds, hills, cold temps, and load can cut range dramatically. If you normally ride in Tour mode on a light commuter loop, don’t assume the same numbers with 35 pounds of gear and rolling terrain.
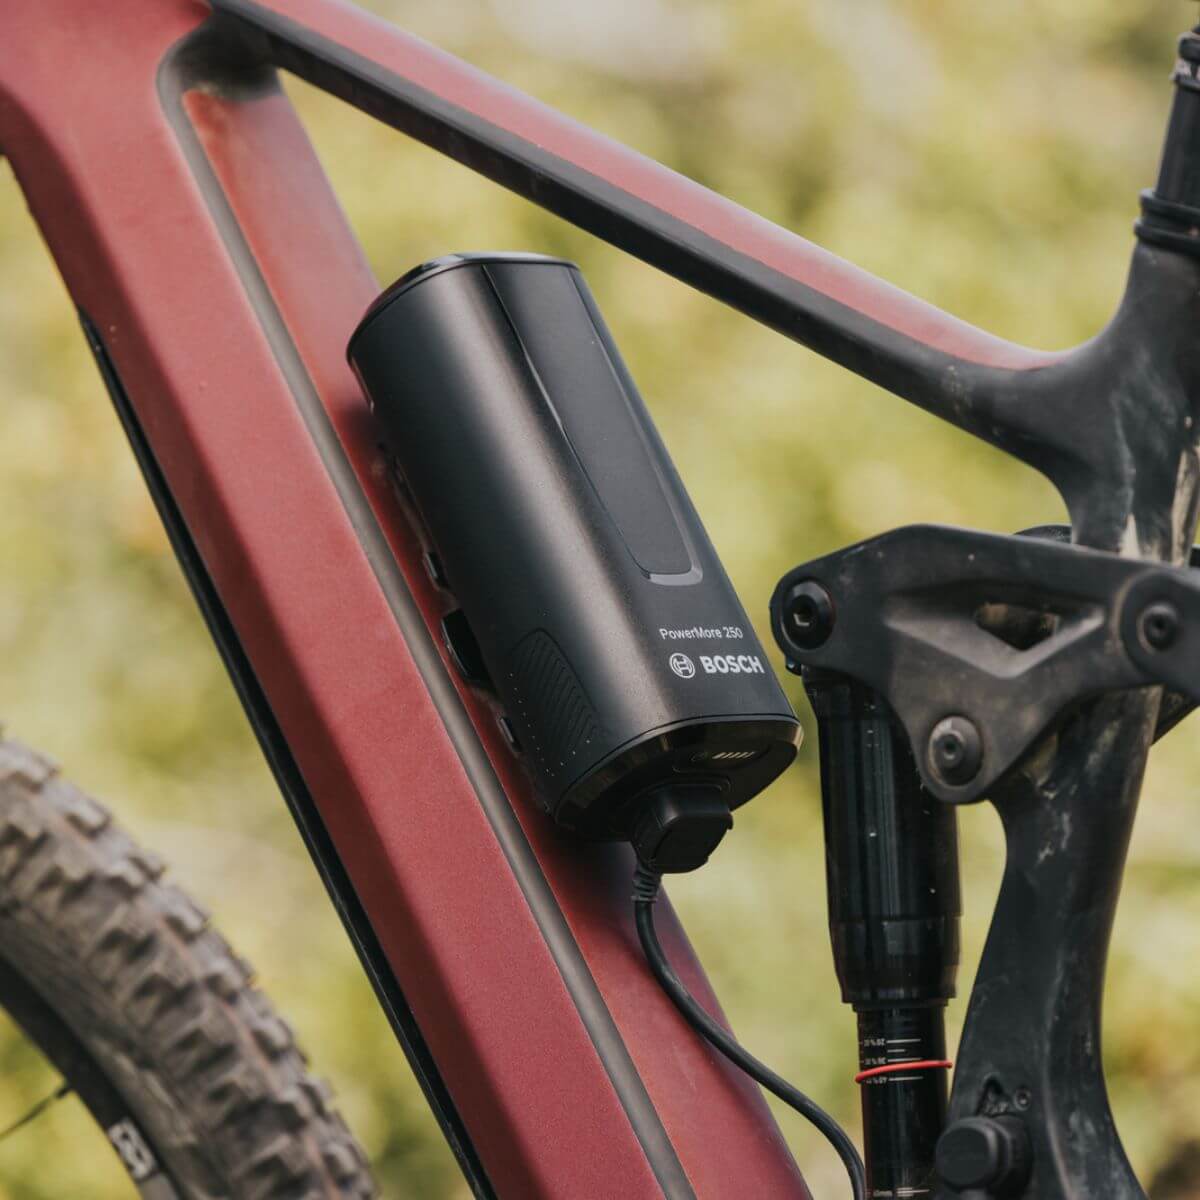
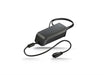
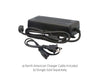
Charging strategy is the real touring skill. Confirm your charger wattage, plug type, and where it will live in your bags so it’s protected but easy to access. If you run a dual-battery setup, decide whether you’ll discharge evenly or prioritize one pack. There’s no universal rule, but consistency helps you spot abnormal behavior early.
If you plan to rely on public charging, be realistic about time. A cafe stop can top up, but it may not refill. For multi-day trips, look at overnight access first and “bonus charges” second.
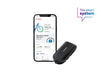
Also check firmware and system health before you go. Error codes are much easier to address at home than in a small town on a Sunday.
Cargo: stability beats capacity

The fastest way to ruin a touring eBike is to treat it like a shopping cart.
Aim for low and centered weight. Rear panniers are common, but don’t overload them and leave the front empty. If your bike supports a front rack or lowrider setup, modest front weight can calm handling and improve traction.
Choose bags that match your riding style. Roll-top panniers are weather-friendly and forgiving. Hard cases can be secure but add weight and rattle. A frame bag can be excellent for dense items like tools, but it can interfere with bottle access on smaller frames.
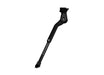
Whatever you choose, do a shake test. Lift the bike slightly and drop it. If anything shifts, it will shift more on rough pavement.
Lighting, visibility, and weather protection
Many premium eBikes have integrated lights, which is a huge advantage for touring - no charging separate batteries, no forgetting a light on the night ride back from dinner.
Still, confirm beam aim and brightness. A mis-aimed headlight can be worse than a dim one because it blinds oncoming riders and wastes light. If you’ll ride in rain or fog, consider adding a small secondary flasher for redundancy.
Fenders are not just for cleanliness. They protect drivetrain, reduce spray onto panniers, and keep your feet drier, which helps comfort and reduces blister risk. If your tour includes mixed surfaces, check fender clearance and mounts. Rubbing fenders are a morale killer.
Tools and spares: pack for the failures you can actually fix
The goal isn’t to carry a workshop. It’s to carry the items that let you keep moving.
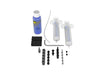
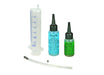
Bring the tools that match your bike’s fasteners (often Torx and Allen), plus a quality tire repair setup. On many touring eBikes, a flat is slower because of weight and, sometimes, rear hub complexity. Practice at home once. Time yourself. That one rehearsal pays back immediately.
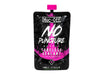
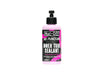
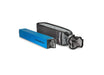
A smart spares kit is small: tube (even if you run tubeless, a tube is a get-home option), patch kit, tire boot, spare valve core, chain quick link, and a few zip ties. Add brake pads if your route includes sustained descents, or if your current pads are already halfway through.
For lubrication, a tiny bottle is enough. Over-lubing attracts grit, and gritty drivetrains wear fast under assist.
Navigation and security: reduce friction, reduce stress

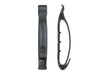
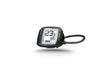
Phone navigation is great until the battery isn’t. If your eBike supports a charging port, test it with your phone before the trip. If it doesn’t, plan a power bank that can handle a full day of screen-on use. Items like the Bosch Smartphone grip can be added to most Bosch Smart System powered ebikes
A solid mount is non-negotiable. Touring vibrations kill cheap mounts. Choose one that locks the phone in place and doesn’t rely on a single rubber band.
For security, decide what “quick stop” and “overnight” mean for you. A cafe lock is not a hotel lock. Many riders carry a serious lock plus a secondary cable for helmets or bags. It adds weight, but it can save your trip.
Pre-tour shakedown rides: your real checklist test
Do at least two loaded rides before departure. The first is to find obvious issues: heel strike on panniers, strap rub, numb hands, noisy racks. The second is to confirm you actually solved them.
On each shakedown, note three things: handling at low speed, braking under load, and your end-of-ride comfort. If your shoulders hurt or your knees feel off, don’t “push through.” That’s your body telling you to adjust cockpit, saddle position, or load distribution.
This is also when you decide what to leave behind. Most touring overpacking is anxiety disguised as preparation.
When to get a specialist involved
If your tour is high-stakes (tight schedule, remote sections, or you’re new to eBikes), it’s worth having a certified tech do a once-over. Small issues like a slightly bent rotor, a borderline chain, or a rack mount that needs proper torque and thread treatment can be invisible until they’re trip-ending.
If you want that kind of confidence, book a pre-tour service check with a shop that knows premium systems and carries the right parts. Scooteretti is one option riders use for consultative setup help and certified eBike service in Ottawa, and their accessory and OEM parts depth can simplify the “does this fit my bike?” question: https://scooteretti.com
A final thought before you roll out
A great tour doesn’t feel like you brought everything. It feels like you brought the right things, and your bike quietly disappears underneath you mile after mile. If you can finish a loaded shakedown ride thinking about the route instead of your hands, knees, or rattling bags, you’re ready.

